Renovations - Part Ten
Things have been really busy onsite for the last week or so...hence the lack of blog and renovation updates.
Ayaz and I have been painting the Tudor paneling ourselves in the lovely hot dry weather last week which has eaten up a lot of time but its really starting to look good now.
The majority of the black wooden beams were replaced with new wood but it all had to be treated for rot, filled, sanded, primed, sanded some more, primed again...you get the idea...all in all a lot of stages where it looked worse before it looked better! But, at the end of last week we finally got to the undercoating stage and its all starting to look really good now.
We were at the stage below for what seemed like ages while we primed everything and treated the wood.
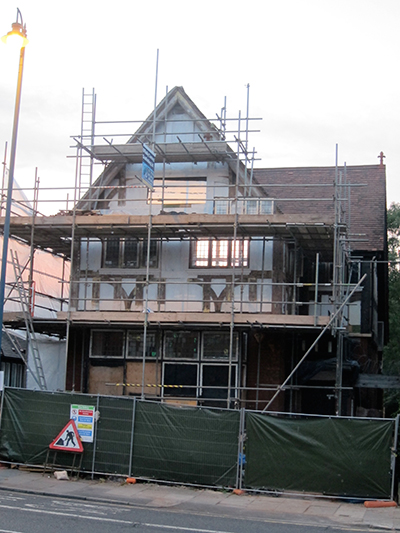
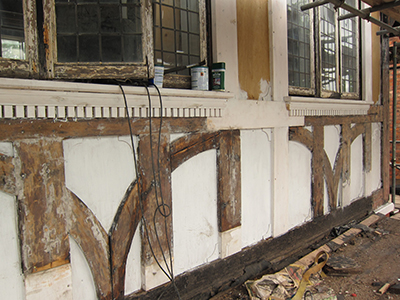
But now its starting to actually look Tudor again!
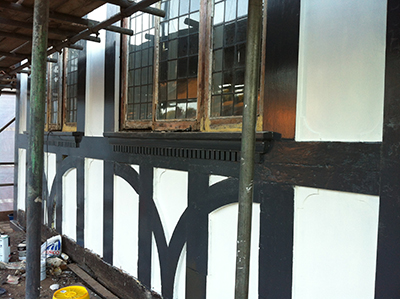
Before the grey undercoat.....
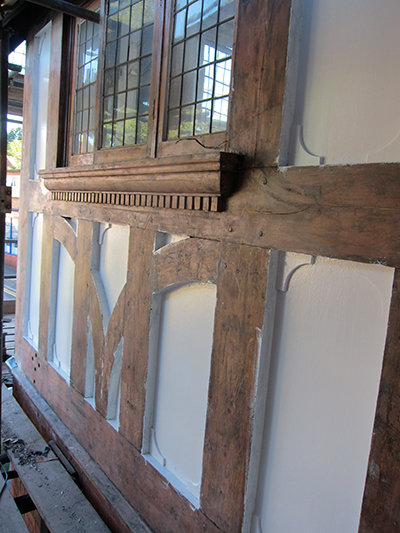
And now it has actually started to look as it should, even though there are still a few more coats to go!
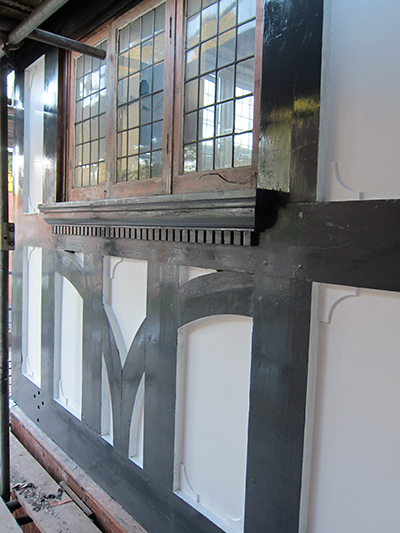

So the front and the side section in the photo above is almost there but there is still a lot of Tudor painting to do. Most of last week the scaffolding around the side and back for the building was getting put up so its now a bit of a scaffolding jungle. Its meant we now have access to the other side and back of the original building where there is even more Tudor paneling to repair and fix. Luckily its not in quite as bad a condition so hopefully we can get away with a bit of sanding then undercoat rather than having to strip it all back again. My hands can't take any more burns from the heat gun!
The picture below is before all the new scaffolding was put up. The back gable end is really taking shape now and is past half way I would say. They have been using the old bricks from where the old wing extension was taken down and as far as walls go...I think it looks like a dam good wall! The old bricks give it so much character!
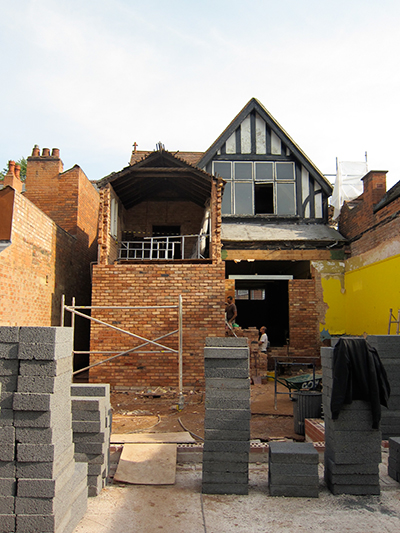
Door ways have been blocked up where they need to as well......We decided we would have to just render this wall so instead of bricks they just used the big blocks - which is much quicker anyway!
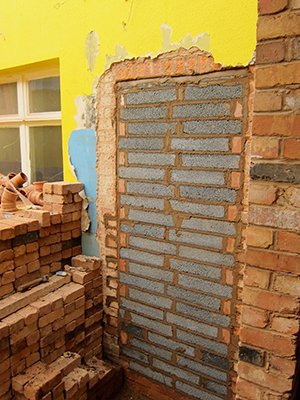
The view below is from where there will be a little coutryard garden at the back of the shop, looking into the ground floor. We'll have big double doors there, so now they just have the little bit at the top to do then that wall will be finished too!

This is how our new house at the back is coming on.....

They have almost built up to 1st floor level so now that the scaffold platform is all in place they can keep building that up.
Below is the view from what will eventually be our living room looking back to the shop building with all the scaffold now up. I know it probably looks like a bit of a mess but in my eyes is looks like real progress.

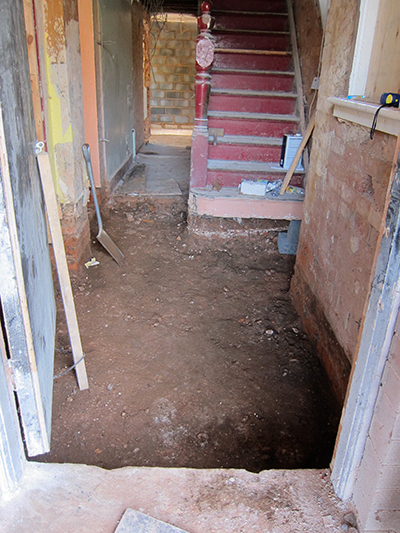
The other area that has been tackled in the past week is the minton floor in the hall way of the original building.
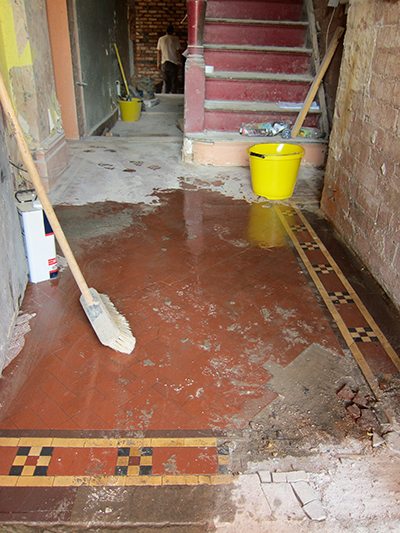
Unfortunatly is was is a really poor condition and it needed to be lifted up to level out all the floor levels and put down new insulation. I managed to save a lot of the tiles though and I'm hoping I can reuse them to make some sort of table top or counter top for the shop.
So its looking a bit bare in the hallway now but its all good! I'm getting used to things looking worse before they look better!
The roof is getting finished off this week which is excellent news and means that work on the inside of the building can start really soon. We just need to order a huge heap of special insulation boards and get the underfloor heating sorted out. So with all of that I'm hoping its going to be nice and cosy inside when its all finished!
Incase you missed it before...remember there is FREE postage and packaging on all orders over £5 in the online shop for the whole of September! No discount code required, it will automatically calculate it when you add things to your back. Just click here to start shopping.
More posts

Personalised Liberty Christmas Stocking Tutorial
Laurens guide to making a lovely stocking your family will treasure for years to come!

