Sewing with Activewear
Sewing your own activewear opens up a whole new area of dressmaking that you might not have tried in before. If you’ve never sewn with these fabrics before then it can be a bit confusing to know where to start. What patterns work with them? Can you sew them on your regular sewing machine? What thread should you use?
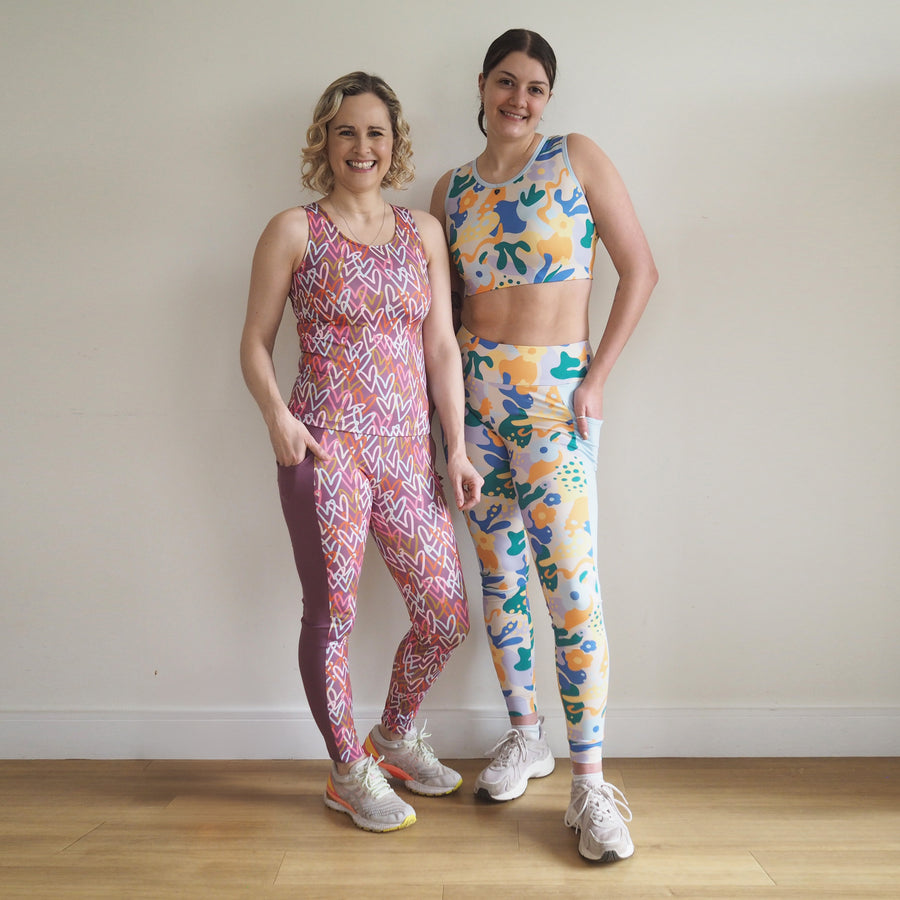
We stock lots of lovely activewear fabrics in the shop in a great range of prints and colours, and in this fabric focus post I’ll break down how to sew our Yoga Activewear Jerseys. Thankfully these fabrics are not difficult to sew, they just need a few special tools and techniques which I’ll guide you through!

How is it made?
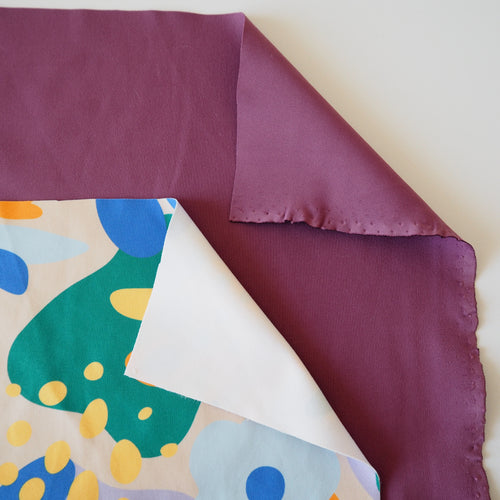
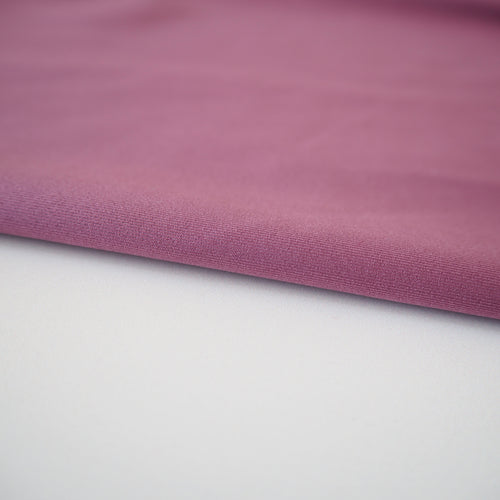
Our Yoga Activewear fabrics are all knitted fabrics that have a high amount of elastane added to them - massive 22%! This makes them super stretchy and also means they have great recovery, allowing them to easily bounce back into shape once stretched.
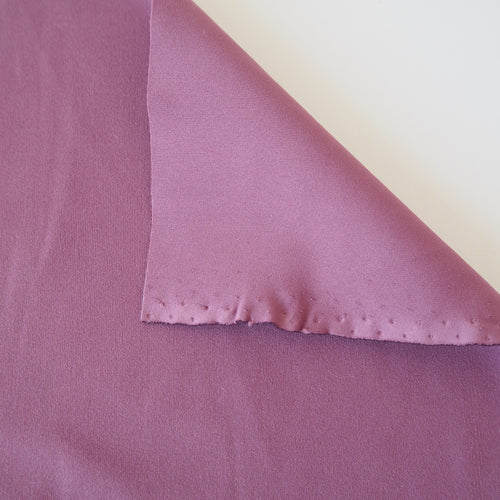
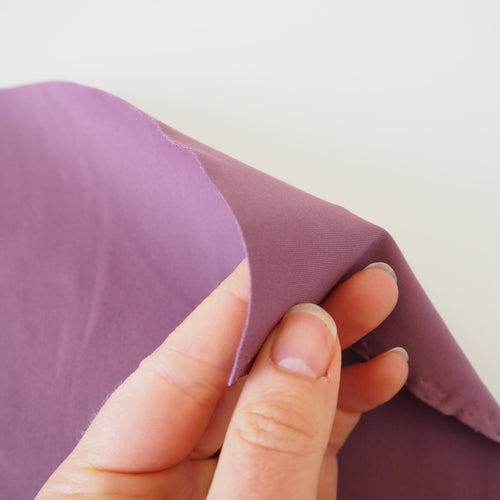
They are all double knit fabrics, which are made in a way that creates two layers of fabric joined together so they have the classic ‘knit’ texture on both sides and either side can be used of the solid colours. Their double knit quality makes them lovely and thick and opaque with a weight of 250 g/m².
What patterns to use?
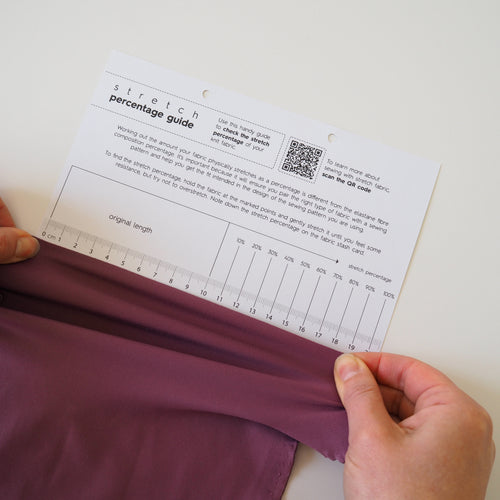
Our Yoga Activewear fabrics are ideal for close fitting garments that hug the body. They have a stretch percentage of 90% and a 4-way stretch, so will stretch both vertically and horizontally.
The percentage of stretch refers to how much the fabric physically stretches, NOT the percentage of stretchy fibre (spandex or elastane) that is in them. Sewing patterns will typically ask for a minimum percentage of stretch that a fabric must have and with such a high percentage the Yoga Activewear fabrics will tick most boxes!

Their double knit nature does give them a slightly firmer hand, so if you’re between sizes on your sewing pattern I’d recommend sizing up to get the most comfy fit.
We found that these fabrics were a perfect match for the Sew Liberated Limestone Leggings and Top set and used them in one of our Sewing Society kits.

shop the patterns
We stock lots of other patterns which would work really well with them though. I’ve added some swimwear ones in here as you could use the patterns to make bodysuits or crop tops. I wouldn’t recommend using them for anything you intend to wear in the pool though, as swimwear fabric needs to have chlorine resistance built in. But they’re perfect for the gym or simply being comfy around the house!


How to wash
These fabrics won’t shrink, but I’d recommend washing them to remove any finishing from the manufacturing process. Wash on your normal 30 or 40 degree cycle and air dry. There’s also no need to tumble dry as it dies so quickly!
How to cut it out?
The Yoga Activewear fabrics are very stable to cut and your scissors will easily slice through them! If you have a rotary cutter and matt then these can make the cutting even simpler.
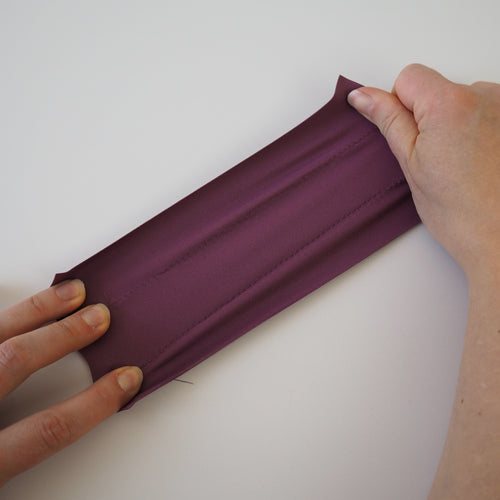
When you lay out your fabric you want to make sure that it’s sitting nice and flat and that you can see the lines of the knit running straight along the folded edge.
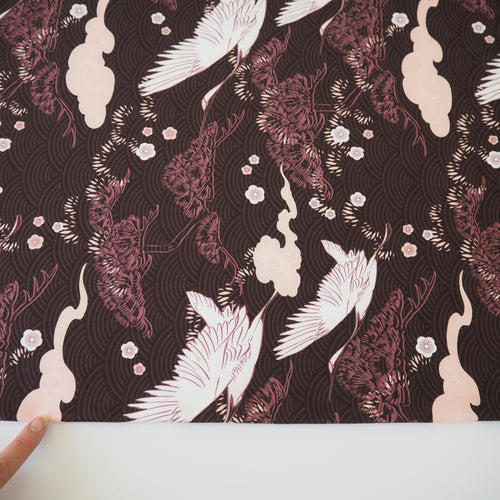
If you’re using a printed fabric you can look for any pattern repeat along the fold too and keep this even.
Make sure that none of your fabric is hanging off the table if you’re cutting on one, so that the fabric is unstretched when you cut.
As the solid fabrics don’t have a particular right side then just pick one and be consistent with it. You can mark the wrong side of each pattern piece as you cut with some washi tape or masking tape.
How to sew on your standard machine

What needles to use
Needle choice is really important when sewing fabrics with such a high elastane content, as the wrong needle choice can lead to skipped stitches. I’d recommend using a super stretch needle, which is designed specifically for fabrics that have a really high elastane content. They have a wider eye, wider thread grove and a special blade design.

What thread to use
Our Yoga Activewear fabrics can easily be sewn with regular Gutermann Sew-All thread as long as you’re using a stretch stitch (which I’ll come to in a minute!). You can also use the Gutmermann Maraflex thread, which is stretchy itself. I’ve found though that you also need to combine it with a stretch stitch for the best results
What stitches to use
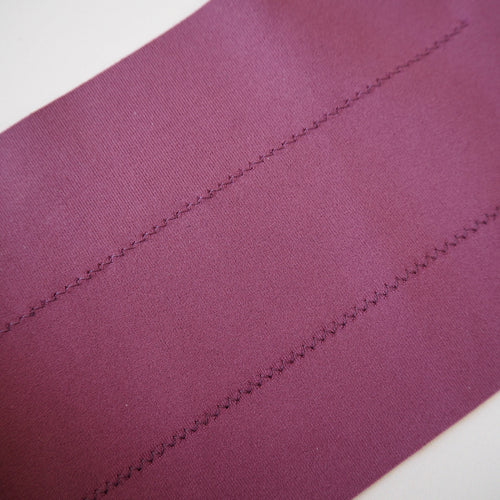
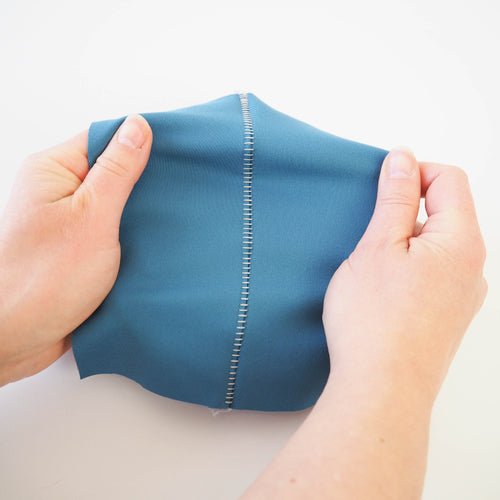
Whichever thread you’re using, it’s important that your stitches will stretch along with your fabric. If you think about what happens when you put leggings on, the seams will often get quite stretched out so we want to prevent any stitches from popping when this happens!
My machine has a lightning bolt stitch which is really stretchy and if yours has one too I’d recommend using this for your seams. You could lengthen the stitch length a little to about 3mm, but do test this on a scrap to check how far you can stretch it.
If your machine only has a standard zigzag stitch then you can use this, but make it fairly short and narrow. I find a width of 2mm and a length of 1.2mm usually works well.
Using maraflex thread
When using maraflex thread for our activewear fabrics I’ve found that they need to be combined with a stretch stitch to be able to match the stretch of the fabric. When used with a lightning bolt or zigzag stitch they’ll give you a suuuuper stretchy seam!
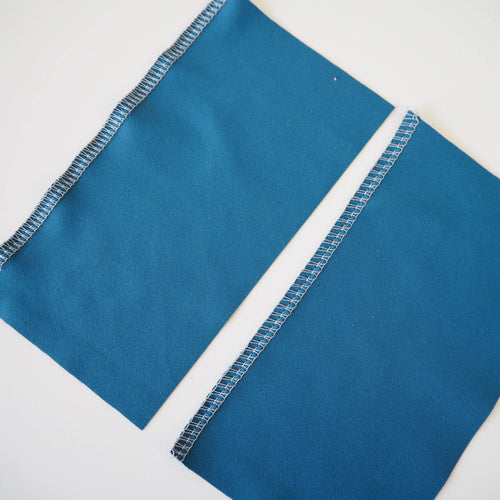
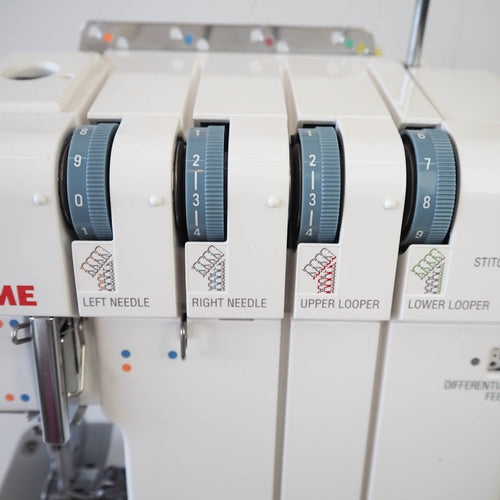
How to sew on an overlocker
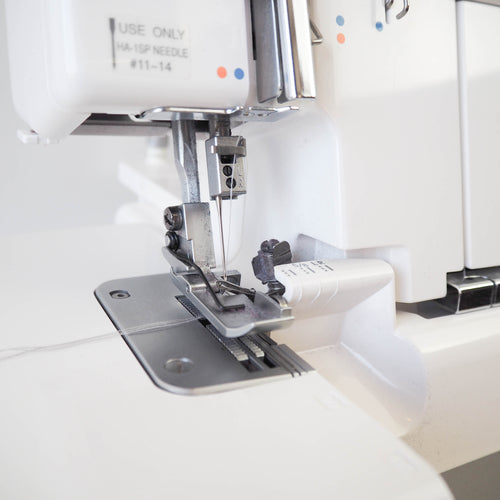
Overlockers are great for sewing up activewear fabrics, giving a professional finish and a nice stretchy seam. Most overlockers specify the use of a super stretch needle in them, but do make sure this is what’s in yours before you start sewing.
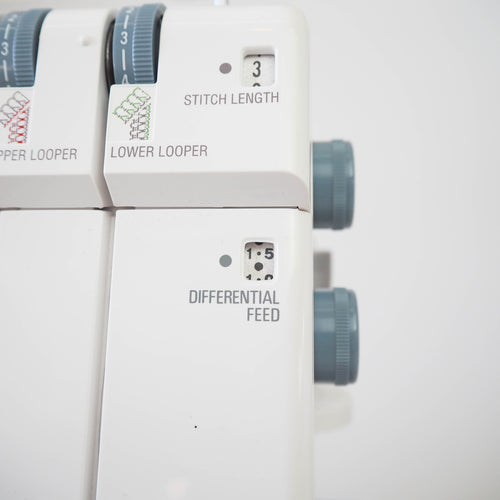
Another benefit of using an overlocker is that you can adjust the differential feed to make sure the fabric isn’t getting stretched as you sew. Sew a sample and place it flat on the table in front of you - if it’s looking wavy then increase the differential feed. Small increments can make a big difference here!
flat lock seam
If you have an overlocker then you can also create a type of flatlock seam on your garment, which mimics a technique you’ll often find on ready to wear items. This creates a lovely flat seam which some people find more comfortable for sportswear.
Industrially this seam is created with a specialist machine, but most overlockers can mimic it.
The set up will vary from machine to machine, but this is how I set up mine:
Firstly unthread and completely remove the right hand needle.
(You can pop the needle in the unused thread spool for safe keeping!) You then need to adjust the tensions.
Loosen the left hand needle right down. You’ll leave the upper looper on its regular tension (3 for my machine), but tighten the lower looper.
Leave the right needle as it’s not threaded so not in the stitch.
You’ll then sew your seam as normal and afterwards pull the seam firmly apart to flatten it out. You’ll end up with a ‘ladder’ showing on one side and a nicely covered seam on the other. You can choose to sew your fabric either right sides or wrong sides together depending on what part of the seam you want to see on the outside!
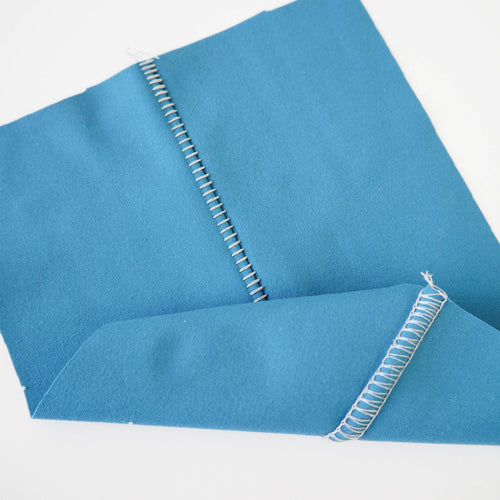
Use matching threads in your overlocker or go for a contrast if you want a more obvious seam. You can also combine this stitch with a thread such as woolly nylon in your loopers for a super soft seam!
When you flatten out a flatlock seam this does change the seam allowance slightly, so you might want to increase your seam allowance a little to compensate.
How to hem
When it comes to any hemming then you can do a single fold hem as the fabrics won’t fray. Again, you need to make sure here that you’re using a stretch stitch so that there’s no popped stitches when you put your garment on or take it off.
You might be used to using a twin needle for hemming knits, but I’ve found that it can be difficult to get the stitch to stretch enough for this type of fabric. Instead I’d recommend using the lightning bolt or zigzag stitches again, or even triple straight stitch if you find this has enough stretch.
General tips
Always test your stitches on your fabric before you start! Make sure to backstitch at the start and the end and give them a really good stretch
Don’t iron directly on the fabric to avoid scorching or melting it. You’ll probably find that you don’t need to press much as you’re sewing, but if you do then make sure to use a low heat setting and a pressing cloth
If you’re finding the fabric difficult to pin then fabric clips are a great alternative
A walking foot on a regular sewing machine is great for helping to prevent wavy seams, but if you find you’re getting skipped stitches then switch back to your general purpose foot
You can avoid any seam finishing on these fabrics as they won’t fray!
I hope this blog post has given you the confidence to get started on your next (or maybe even your very first!) activewear project. If you need any more help, don’t hesitate to get in touch with the g&g team—we’re always happy to help!
