It’s Luskentyre month here at guthrie & ghani so we’re celebrating all things involved with our favourite bag pattern. We may be a little biased but we think that the Luskentyre bag is pretty much the ideal bag for most scenarios; beach trips, picnics, weekends away, swimming sessions, fabric shopping… But there’s one thing can always improve on perfection and that’s more pockets! You really can never have too many.
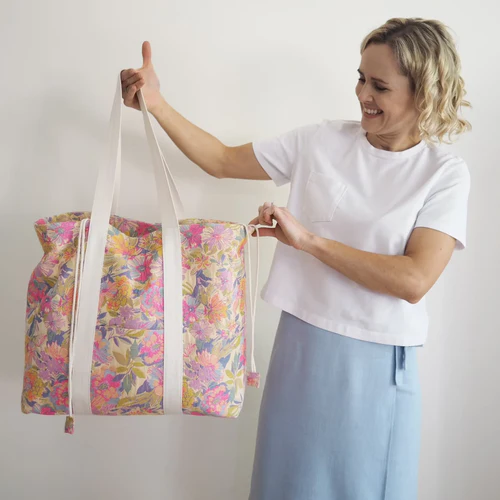

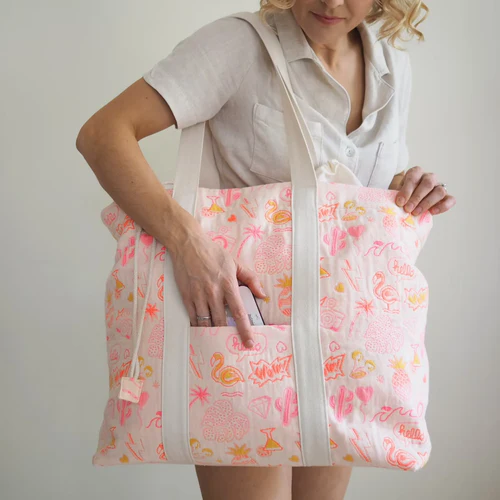
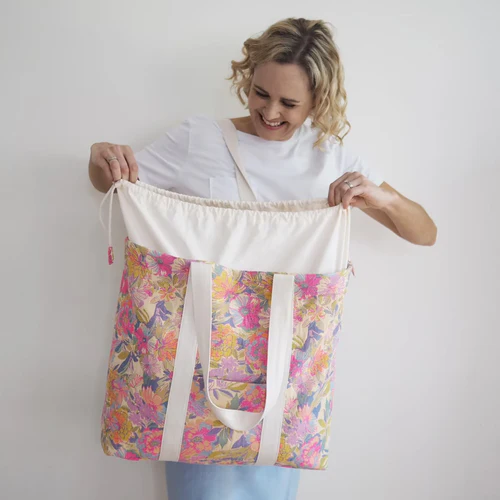
In this blog post and video I’m going to show you how to add two different internal pockets to your Luskentyre bag - a handy slip pocket for your phone or wallet and an elasticated pocket for your water bottle. I added one of each pocket, but you could easily add two of each if you wanted even more storage!


For this tutorial, you’ll need a copy of the Luskentyre Bag Sewing Pattern!
When you purchase the Luskentyre pattern, you will receive a link to the PDF instruction booklet with full-colour photographs annotated with key information. As well as this, you'll also receive a link to Lauren's Top Tips video showing you step-by-step instructions to help you complete the project while following along with the instructions. This blog post is to be used as an addition to the instructions that come with the pattern.
The best thing about this blog post is that you can also adapt the instructions to add pockets to other bag patterns!
To create your pockets you will need:
+ Paper to draw your pattern pieces on. You could use dot and cross paper or scrap paper such as newspaper
+ A short length of 13mm / ½" wide elastic (about 25cm long)
+ Enough extra lining fabric for your pocket pieces (approx. 30cm if following the measurements and number of pockets in this tutorial)
Slip Pocket
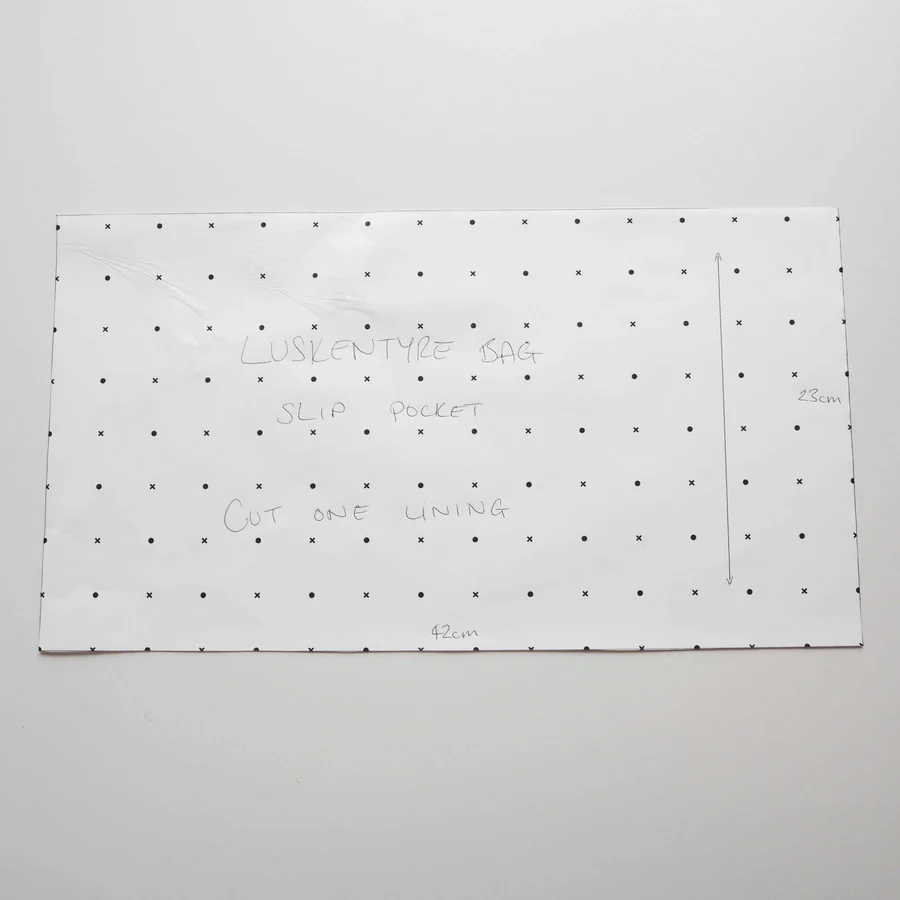
To go on the side of the bag inside I made a slip pocket with a finished size of 42 x 20cm, which is nice and big so easily holds a small notebook or tablet. You'll want to cut out your pattern piece and fabric before you start any of the bag construction, so that you can make best use of your lining fabric.
To make a pocket this size you’ll need to cut a pattern piece which is 42 x 23cm. Cut one of these from your fabric.

Slip Pocket Step 1
You'll start sewing your pocket once the outer bag is sewn and you're about to start constructing the bag lining. It’s easiest to sew the pocket onto your lining before any of the lining has been sewn.
Take your pocket piece and press the top edge to the wrong side by 1cm and then again by 1cm. Topstitch in place close to the folded edge.

Slip Pocket Step 2
Now press the remaining raw edges to the wrong side by 1cm.

Slip Pocket Step 3
Take one of your main lining panels and position the pocket on it.
First I found the halfway point on both the lining panel and pocket and matched these up.
I wanted the pocket to sit fairly low down in the bag, so placed the pocket 10cm from the bottom edge.

Slip Pocket Step 4
Secure your pocket in place with two lines of stitching on the pressed edges. Sew one line fairly close to the edge and another 1cm away from the edge.

Slip Pocket Step 5
You can then add further lines of stitching to divide up the pocket and make sections to hold your items. You could place your phone or wallet in the pocket first to see how big to make each section.

Slip Pocket Step 6
For extra strength you can then add bartacks to the top of your stitching lines on the pocket. I like to use a short zigzag for this, with a width of about 2 and length of 0.5.
And that's it! Your slip pocket is complete. You can now follow the rest of the pattern instructions for sewing up your bag. Or if you'd like to add a bottle pocket, then continue below.
Bottle Pocket
To hold my water bottle I made a pocket which has a gusseted bottom as well as elastic at the top, to help stop the bottle wobbling about too much. Again, you'll want to make the pattern piece and cut out the fabric before you start sewing up your bag.
To work out the size of your bottle pocket you first need to measure the bottle that you’re most likely to be using with your bag. I've gone with a larger bottle here as then I'd also be able to fit a smaller bottle in the pocket.
Bottle Pocket Step 1
Take your bottle and lay it on a flat surface. Measure over the top of it from one side to the other. Then add 1cm to this measurement.
My ‘over the top’ measurement is 21cm so with 1cm added this is 22cm.
You’ll then need to add a further 4cm to give a 2cm allowance on either side. This is your pocket width - mine is 26cm.


Bottle Pocket Step 2
Then measure the height of your pocket.
Again, with your bottle flat on the table measure up from the base and about ¾ the way up the bottle.
For me this is 24cm. Then we add a hem allowance of 2.5cm to the top and 1cm to the bottom (3.5cm total), giving me a total of 27.5cm.
This is the height of your pocket.

Bottle Pocket Step 3
Draw out your bottle pocket pattern piece.
Cut your pattern piece out from your fabric. Make sure to mark which is the top edge of the pocket as they might be quite similar lengths.

Bottle Pocket Step 4
I positioned my pocket at one of the ends of the bag so that the bottom edge got caught in the stitching at the clever corner.
To do this, we’re going to sew it onto the bag lining when one of the lining side seams is already sewn. Sew up one of these now, but leave the other side open so you can still lay the fabric flat.

Bottle Pocket Step 5
We’re first going to create a channel in the top of the pocket piece for the elastic to go in.
Press the top edge over to the wrong side by 1cm and then again by 1.5cm. From the wrong side, topstitch close to the folded edge (just shy of 1.5cm from the top edge of the pocket).

Bottle Pocket Step 6
Now you need a length of 13mm wide elastic that is the same size as your original ‘over the top’ measurement of your bottle, as taken in Step 1.
My original measurement was 21cm so this is what I need. It’s easier to leave your elastic a bit longer and mark the length on.
Feed this through your top channel with a safety pin.

Bottle Pocket Step 7
Now secure the elastic in place with a little line of stitching at each end, keeping within the 1cm seam allowance here.

Bottle Pocket Step 8
Now press the side edges of the pocket to the wrong side by 1cm.

Bottle Pocket Step 9
To work out how far apart to sew the sides of the pocket onto the bag, measure the diameter of the bottom of your bottle.
Then add 4cm to this, before dividing by 2. My bottle is 8cm wide, so it becomes 12cm once I add the 4cm and then 6cm once I divide it into 2.

Bottle Pocket Step 10
On your lining piece, use the number you got (6cm in my case) to measure out on either side of the side seam. You can mark this with chalk or pins.
My pins lines here are in total 12cm apart from each other.

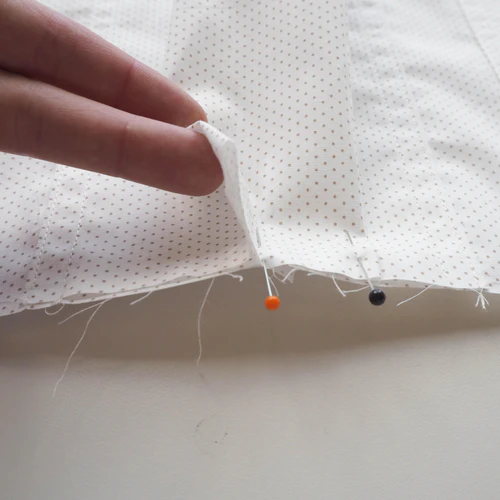
Bottle Pocket Step 11
You’re then going to line up the pressed edges of the pocket with this line and pin in place.
Line up the bottom unpressed edge of the pocket with the raw edge of the clever corner, but don't pin.

Bottle Pocket Step 12
Secure the pocket in place with two lines of stitching on each side - one close to the pressed edge and one 1cm in from the edge. Leave the bottom edge loose for now.

Bottle Pocket Step 13
For extra strength, you could add a bartack to the top corners of the pocket.
Bottle Pocket Step 14
On the bottom edge, match up the middle of the pocket with the side seam on the lining.
Then pleat the excess fabric in towards this middle point. The raw edges of the pocket should be matched up with the raw edge of the lining at the bottom.
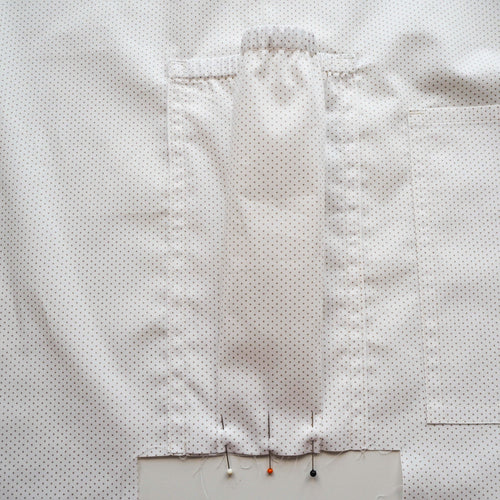
Bottle Pocket Step 15
Stitch in place, keeping within the 1cm seam allowance.
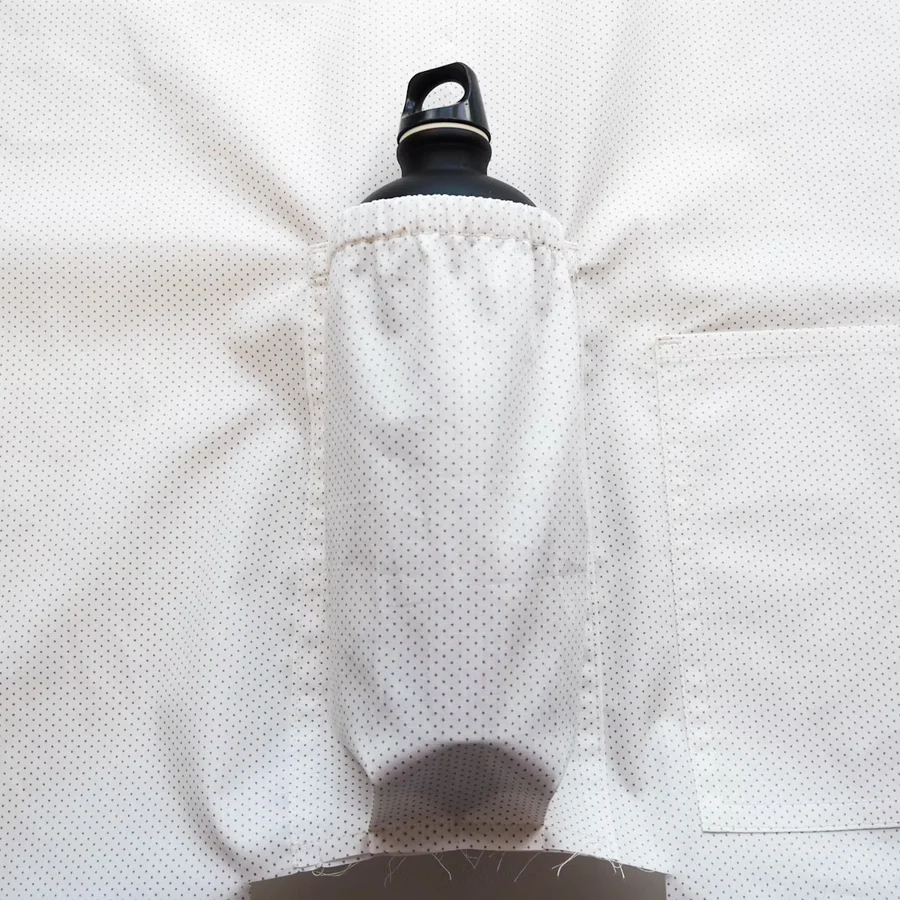
Your pocket is now complete!
Keep following the instructions for the bag and the raw edge of the bottom of the pocket will get caught later on in the clever corners and be nicely hidden.
Happy sewing, and enjoy making your Luskentyre Bag work perfectly for you 💛
