Part 3
How to use cuffing for sleeve cuffs and hem bands
This is part 3 of my cuffing top tips. In this post I’ll show you how to use cuffing for sleeve cuffs and hem bands.

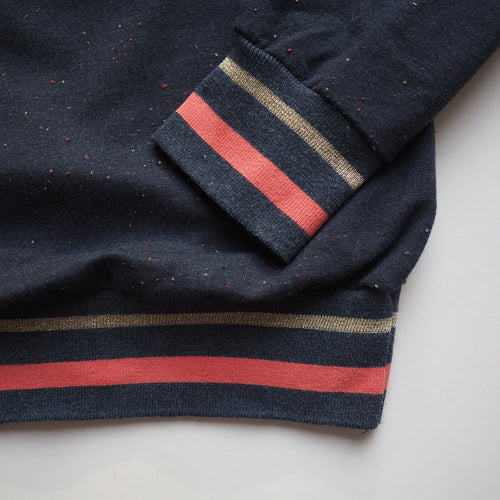

Cut the cuffing to the same length as the pattern pieces for the cuffs and hem band. Depending on what pattern you are using the height or width of this pattern piece is likely to be much wider than the cuffing. This is normal and is because that pattern piece has been designed to be used with ribbing fabric or the same fabric as the main garment and would ordinarily be folded in half.

As the cuffing has one finished edge, it is already the correct width.
Join the cuffing to make a loop. If you use an overlocker to do this, make sure you leave a long thread chain and with a wool needle or bodkin, thread that tail back through the seam stitching to seam off the stitched and to make it look neater from the outside of the garment.

If you wanted you could top stitch the seam allowance down as show below. This isn't essential but may help the seam allowance to sit flatter and more hidden on the inside of the garment.

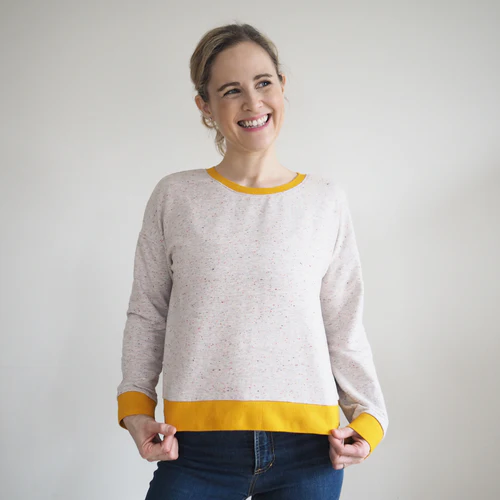
You then attach the cuffing to your main fabric in the same way you did for the neckband. Trying to evenly stretch the cuffing to fit into the main fabric.
If you used a sewing machine to attach the cuffing on, you could zig zag stitch the seam allowances together, but it’s not essential as the fabric and cuffing won’t fray anyway.
Can you use cuffing for a waistband on trousers/pants?
In short I would say no as it’s typically not got enough stretch recovery to work as a waist band on its own. You could use it folded in half to create a channel for elastic, but I think it might feel too bulky like that. It would be better to use either tubular ribbing or use the same fabric as your main garment for a waistband to make a channel for elastic.
