Close Core Patterns Clare Coat
In a super cosy woollen fabric
I’m really excited to share my latest make today - the Closet Core Patterns Clare coat. It’s been a labour of love and I’ve been catching every minute I can between looking after baby Sophia over the past 3 weeks or so.

Making a lined coat like this one can seem like a big challenge but as far as coats go, the simple and classic design of the Clare coat makes it perfect for those attempting a garment like this for the first time. That’s mainly because of the raglan sleeves that are much easier to sew in, along with the A-line silhouette that makes it easy to fit and finally there is a fantastic sew-a-long on the Closest Core Files blog that will walk you though every step.

I’ve made a little video about the coat too so that you can see how it moves and hangs in action!
My fabrics
For my coat I used this amazing ex-designer woollen fabric that has a 90% wool content so its really lovely and cosy. It has a gorgeous blush pink tone to it, which I love.
Due to the A-line shape of the coat, I think it works for the fabric to have a little bit of structure. A lot of the coat is interfaced anyway so after reading around I decided to interface the whole coat and do this by spot fusing the interfacing to the main fabric before I cut it out. With the fabric spread out on the floor, I used a Prym Ironing Blanket and my iron to fuse on the interfacing in various spots so that the two layers would hold together just enough while I cut all the pieces out. It meant that I was then cutting out the interfacing and main fabric at the same time, then once they were all cut out, I went over the pieces to properly fuse them together. Don’t underestimate how long the pressing will take to get them to fuse properly!

Initially I did think I wanted to add a layer of Thinsulate interlining to make the coat really warm but when I tried the coat on before I put the lining in, it felt sturdy enough and I just felt like it didn’t need it.

For the lining I used one of our lovely satin spotty linings. Mine has a brown background with light pink spots. It feels lovely and smooth so makes taking the coat on and off really easy. I also used that fabric to make a little loop to hang the coat up.


And the pockets use the lining fabric too.

Having that bit of added structure provided by the interfacing will also help the collar to hold its shape when you wear it up.


It feels so lovely and snug when you button it right up to the top!

Or you can wear the collar turned down too.

My tips and tools
I bought myself a wooden clapper (from here) for this project as recommended in the Closet Core Files sew-a-long. A clapper helps seams to look really flat and professional. Instead of using a lot of pressure with the iron I hovered about the iron making sure lots of steam was coming out, then while the fabric was still hot and damp, I put the clapper over and applied pressure for a wee minute. I think it made such a difference and can highly recommend investing in one. They are also useful for sewing with thick fabrics, such as denim.

I can also recommend a tailors ham, which I found especially useful for pressing the seam that runs directly over the shoulder. I also used my sleeve board for the sleeves.

Sizing and fitting
My measurements most closely fitted the size 8. My waist is a little bigger than the measurement for that size but as the coat isn’t sculpted and fitted over the waist and hips I decided it would be ok. I did make a toile (which you can see in this post) and I found it a little tight across my upper back, which I wore it with a winter jumper. So I used a 1cm seam allowance at the back raglan seam to give my a little more ease. To make sure the collar would still fit I made sure that at the neckline I stuck to the 1.5cm allowance and then gradually merged out to 1cm.

Details I love
I love a bit of top-stitching on any project and this coat has stop stitching all the way around the outside edge (apart from the hem) and at the raglan sleeve seam.

There is also a bar tack at the top and bottom of the pocket to help secure it in place. All of these areas mean you have to stitch though a LOT of layers, so I would recommend practising on the same number of layers before trying on your coat. I had to replace the needle on my machine several times when making this project as I kept getting skipped stitches.

The pattern suggests using press-studs to fasten the coat up but instead I went for bound buttonholes and followed the tutorial on the Colette Blog for this. I ended up working out my own placement for the buttonholes as well. The markings that I had transferred from the pattern were too close to the edge of the coat and also ran vertically instead of horizontally.


I’m really pleased with how they turned out. I know they aren’t perfect but I think they give the coat a bit of character. I would recommend having a practise on some scrap fabric first so you can get used to how it will work with your fabric.

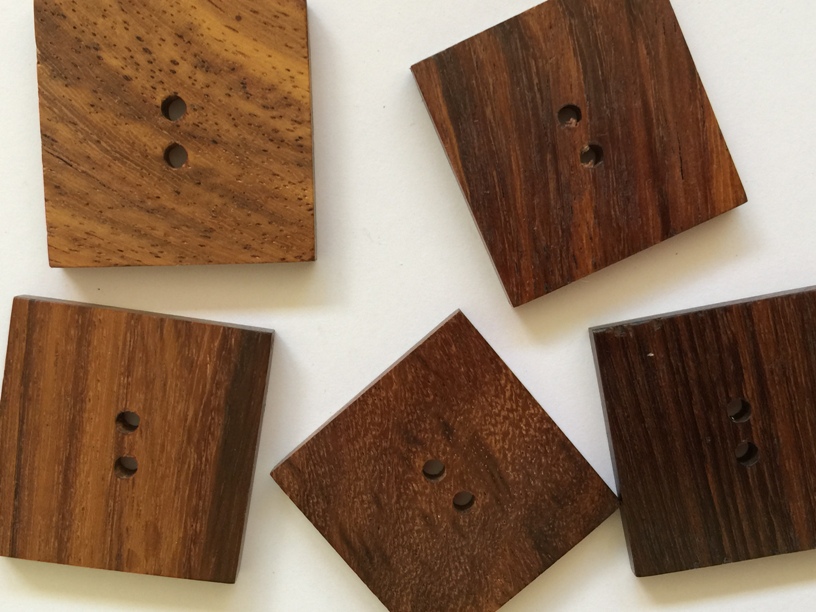
I choose these lovely square wooden buttons from Textile Garden.

I'm really looking forward to wearing it as the weather continues to get colder over the next few months. If you decide to make one too I would really love to see it! Please share a picture online or email one over to us! Happy Sewing!!
Image credit to Victoria Beddoes Photography
