Renovations - Part Twelve
Wow! I can't believe I'm already on part twelve! I've been roughly doing a renovations post every week which makes it way more than 12 weeks since we started - which is scary!
Things are changing so fast now and its slowly getting harder and harder to remember what things were exactly like before we started without looking back at the pictures.
The past week has seen us almost finish the external paint work to the Tudor paneling at the front of the building. I think its looking great and I'm feeling really proud that it was me and Ayaz that managed to do it all. Its felt like such a long haul that job. We started the painting with so much motivation and it takes a lot to keep on going.
So as a bit of a reminder here's a quick recap of what its gone through!
Before we started.....
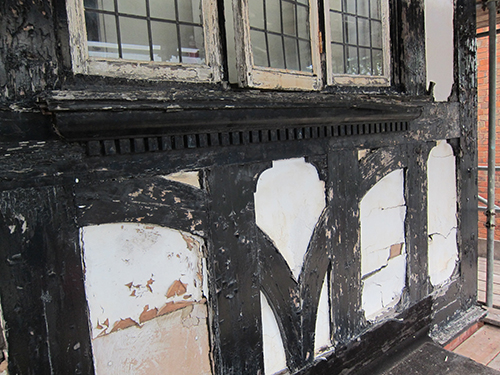
The carpenters stripped back the crumbling white rendering and cut out and replaced all the rotten timbers.


The render areas were filled and built out with exterior plywood. Then we attaked the black paint that was left with the heat gun.....
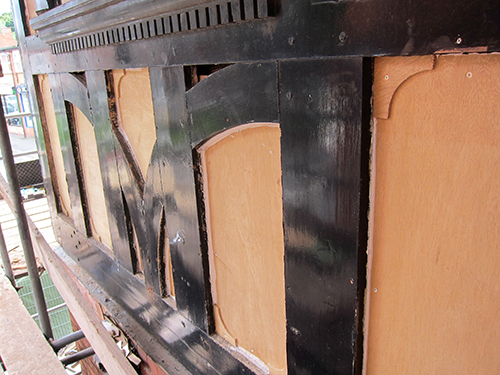
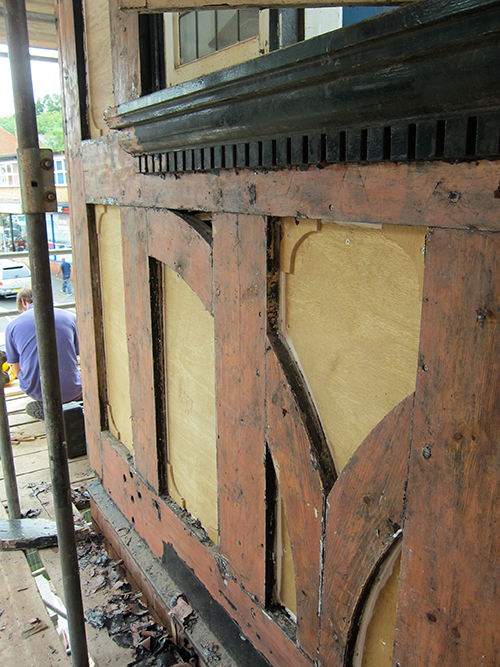
Next was a whole lot of sanding, filling, priming, sanding, more filling, undercoating, more sanding, more undercoating....you get the idea...it really went on and on and on!
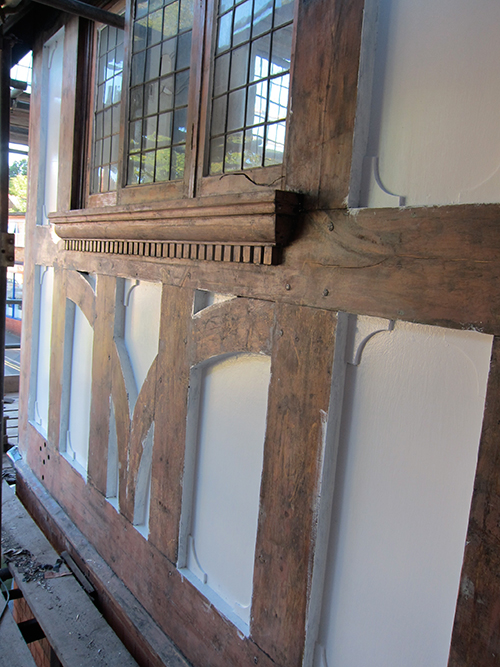
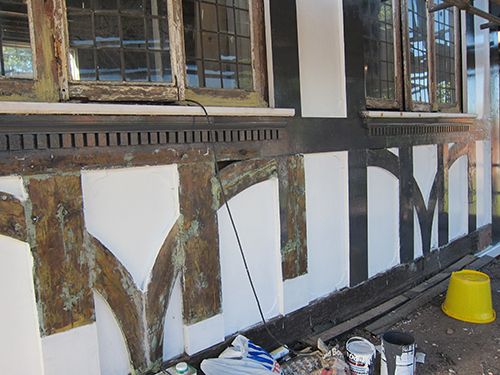
And finally we got to the stage it started to look like Tudor again!

We choose a matt satin dark gery for the top coat and I think it has worked out really well. We're just waiting for the new window to slot into the space where the silver board is in the picture below.
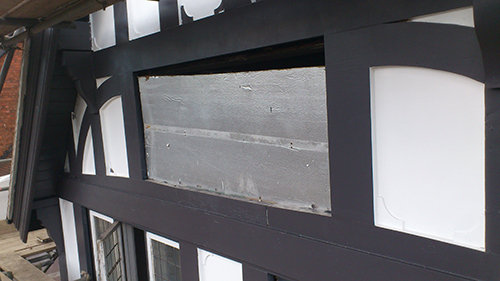
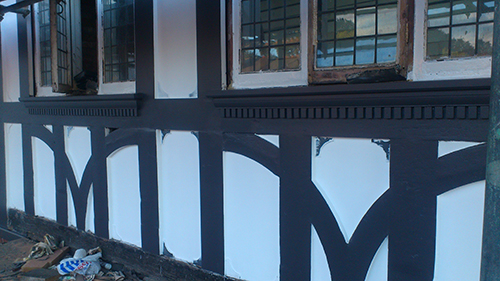
The only thing thats left are the little corner bits that still look a bit messy just now. The windows need finishing off as well but all in all its almost finished!
Meanwhile, the little roof of the mini wing at the back of the shop building has been getting redone.
Here is the before......
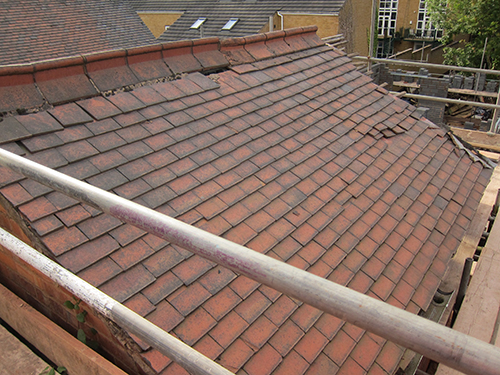
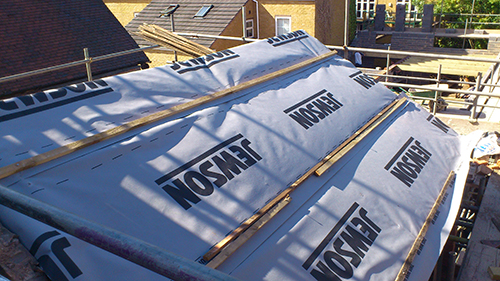
It got completely stripped, re-felted and re-lathed.
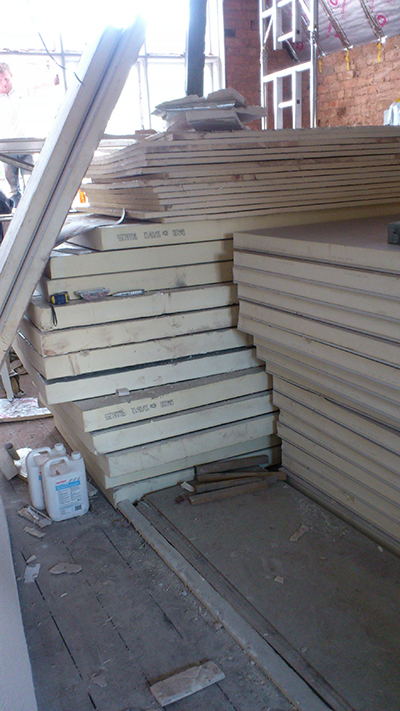
The insulations has also now arrived to start boarding the shop building. I have never seen anything like it before! Its soooo thick!
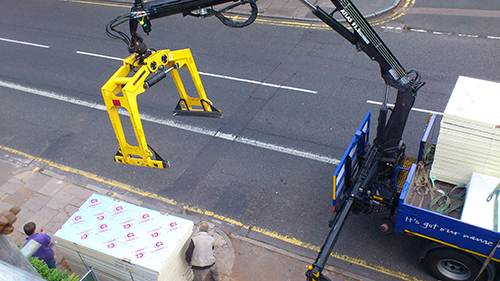
It takes up so much room! But hopefully it should go on quite quickly.
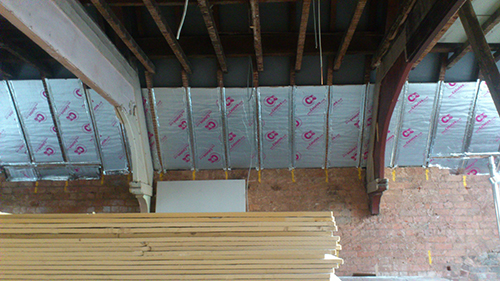
On the roof the first layer goes inbetween the rafters with a special silver tape to seal it up and stop any drafts. Then another thicker layer goes on top of that...then the plaster board on top of that! We are taking the ceiling right up to the apex of the roof which will look great...just a lot of extra work.
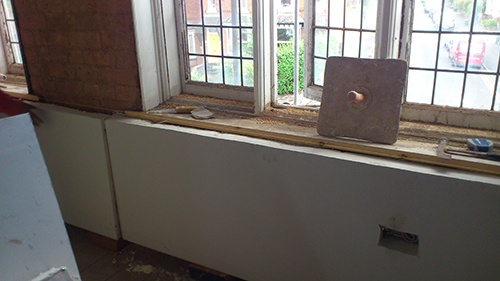
The combined insulation and plaster boards that have to go onto the exterior walls is so thick that all the window ledges and frames have to be built out to accomodate it.
The last two pictures show how far our new house at the back is coming on. This is before the walls were built up....

Believe it or not the picture below is of the same view! We are up to first floor level and they are making the walls of the bedrooms now and the floor joists of the first floor have also started to go in. It's actually starting to take shape and look like a house. From a 2D line drawing on a huge bit of architects paper, we've now got a shape of a house and its so much bigger than I imagined!
What you can see in the fore ground of this picture is all the scaffolding around the back of the shop building. The Tudor paneling goes all the way round the side and the back of the building too so the painting and decorating isn't quite over yet. Thankfully that wasn't in as bad a condition as the front!
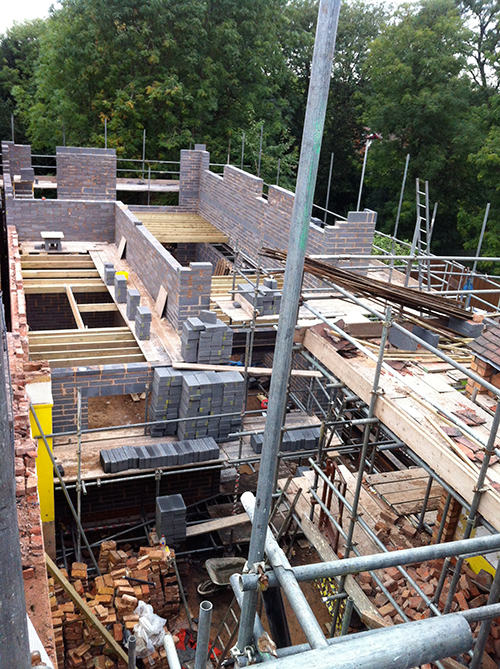
Over the next week (weather permitting) we should get the external rendering done, the first floor room in the shop all boarded and skimmed with plaster and the maisonry of the house should be finished off. The underfloor heating is due as well....only problem is...when you've got a hugemungous amount of insulation and plaster board, you're not left with much floor space for anything else! So a few logistical problems to work out there!
Don't forget there is FREE POSTAGE AND PACKAGING on ALL ORDERS over £5 in the online shop up until the end of the month (September)! Click straight to the shop here!
More posts

Personalised Liberty Christmas Stocking Tutorial
Laurens guide to making a lovely stocking your family will treasure for years to come!

